Learning Path: Beginner, Part 2
Table of Contents
Step 1 | Warmup
Step 1a | Warmup in D Major
Step 2 | Embouchure
Step 2a | Embouchure Foundations, Part 2
Step 2b | Mid to Low Register Embouchure Exercises #1
Step 3 | Technique
Step 3a | How to Play D’ to C# Smoothly
Step 4 | The Eagle’s Whistle
Step 4a | Slow Tune Learning: The Eagle’s Whistle
Step 4b | Play Along: The Eagle’s Whistle
Step 5 | In Closing
Step 5a | Celebrate and Communicate
Step 5b | What’s Next?
Step 1
Warmup

Step 1a
Warming up is so important! It makes sure your body and mind are ready to play music with the physical, emotional, and mental awareness that it deserves.
In the video below, I show you a few stretches that work for me—you can do what works for you. Then you can play along with me in order to warm up in the key of D. Warming up in the key of D means you’ll want to use the D Major scale you learned in Learning Path: Beginner, Part 1.
I talk you through each exercise in the video, but there is sheet music below if you’d prefer to look at the music as you’re playing along.


Step 2
Embouchure

Step 2a
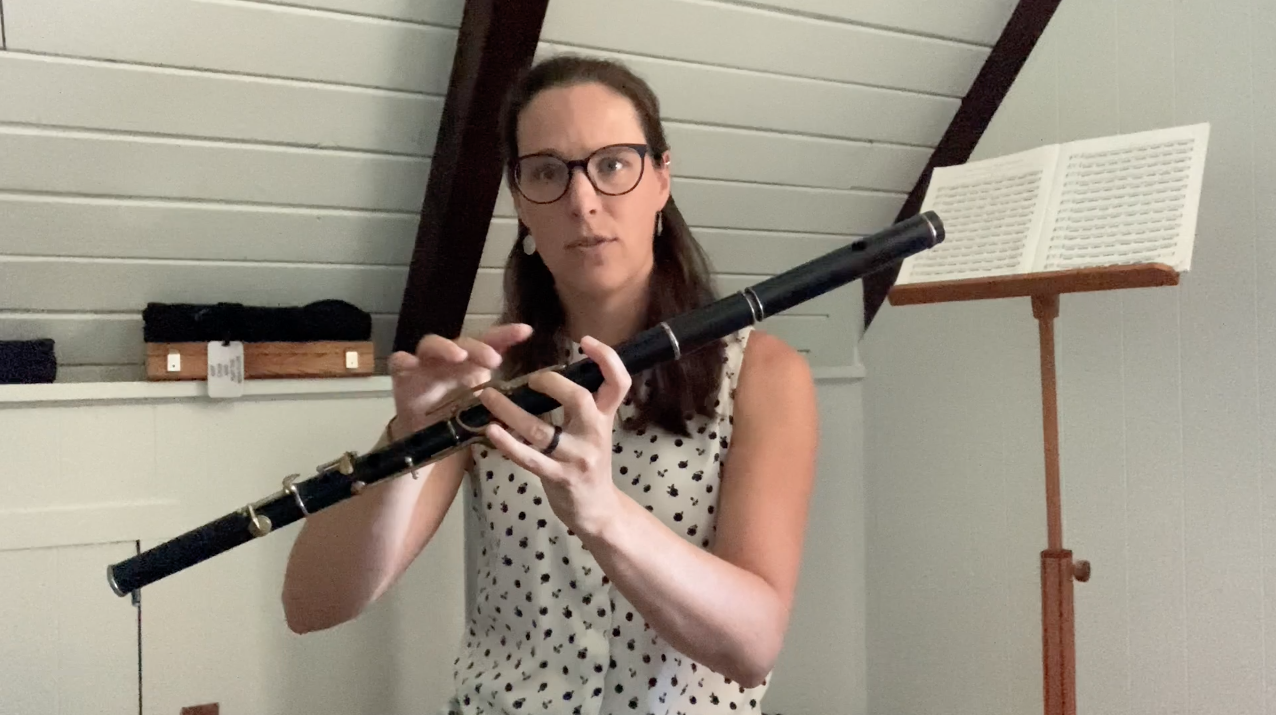
In Learning Path: Beginner, Part 1, you watched Embouchure Foundations, Part 1. In this video, I discussed corner- vs. center-based embouchures and demonstrated how to find a “neutral” center-based embouchure.
Center-based embouchures can be more flexible than corner-based, and for this reason, they can provide more control in different registers of the flute. Because center-based embouchures are so flexible, they can move into different shapes. I consider there to be three primary shapes on the “embouchure spectrum.”
The neutral shape covered in Embouchure Foundations, Part 1 is one of the three primary embouchure shapes used in flexible, center-based embouchures. One of its uses is for playing your middle register (I consider the middle register to go from approximately A or B up to E’.)
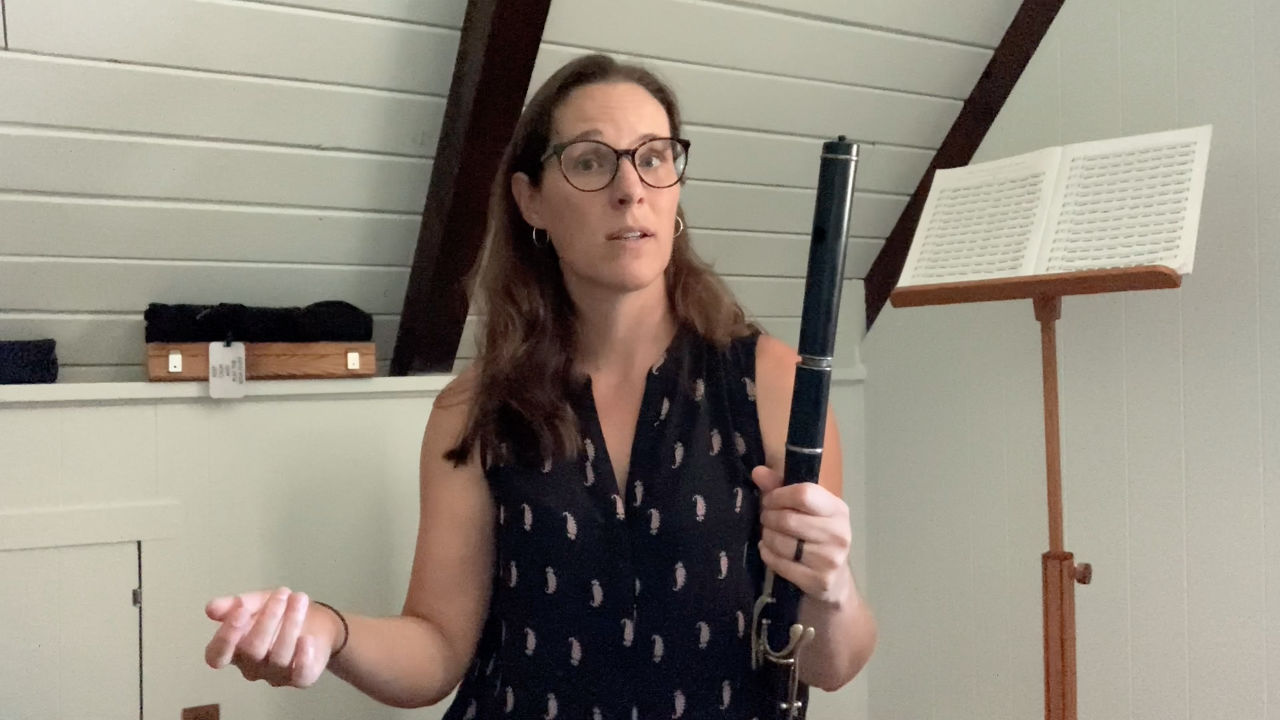
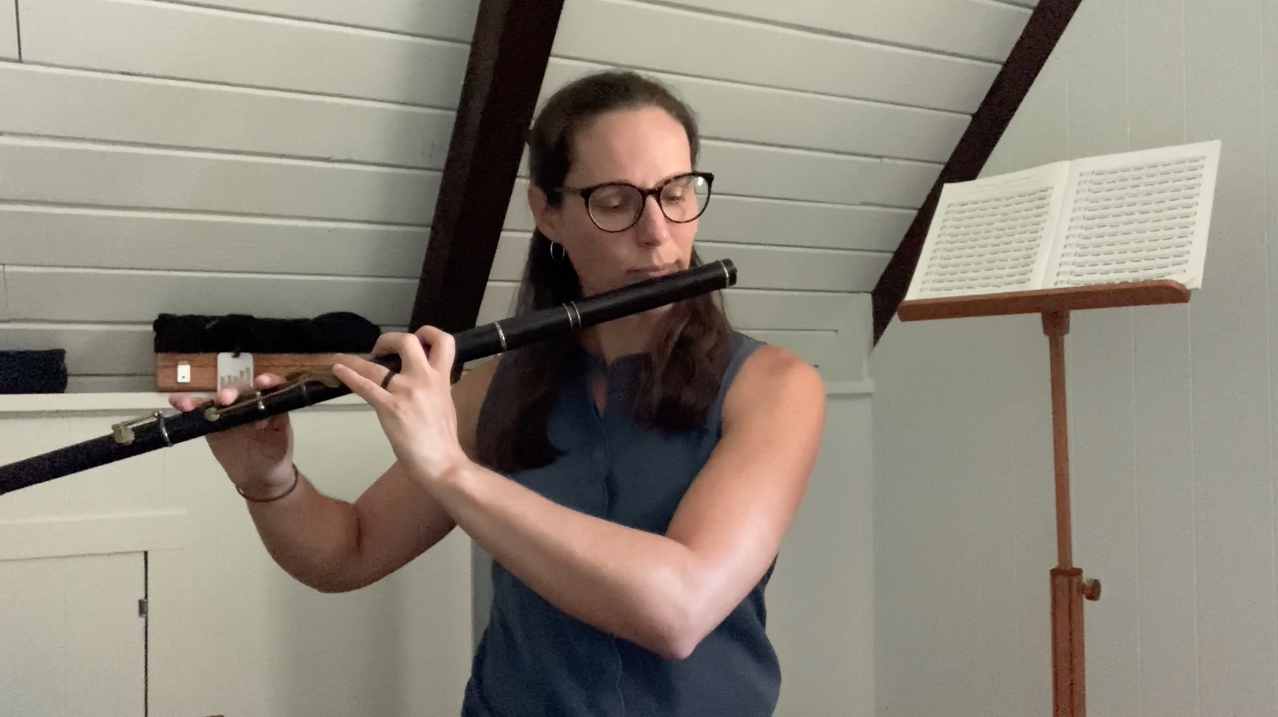
This next video is a continuation of how to form a flexible center-based embouchure. Here, I introduce the second primary shape: the flattened embouchure.
The flattened embouchure is very helpful with your low register. Your low register is where many of your low octave notes tend to live. Developing a rich, dark low register is very important for Irish flute playing.

Takeaways:
Center-based embouchures have three primary shapes. The neutral is for the mid-register. The flattened shape is for the low register.
To find your neutral shape, say “tunnnnnne.”
To find your flattened shape say “tonnnnnnne.”
Flattened embouchure shapes direct the airstream down into the flute and help us play with a rich, dark low register.
Be sure to take breaks if your mouth gets tired. Try not to use the corners of your mouth to form your embouchure.

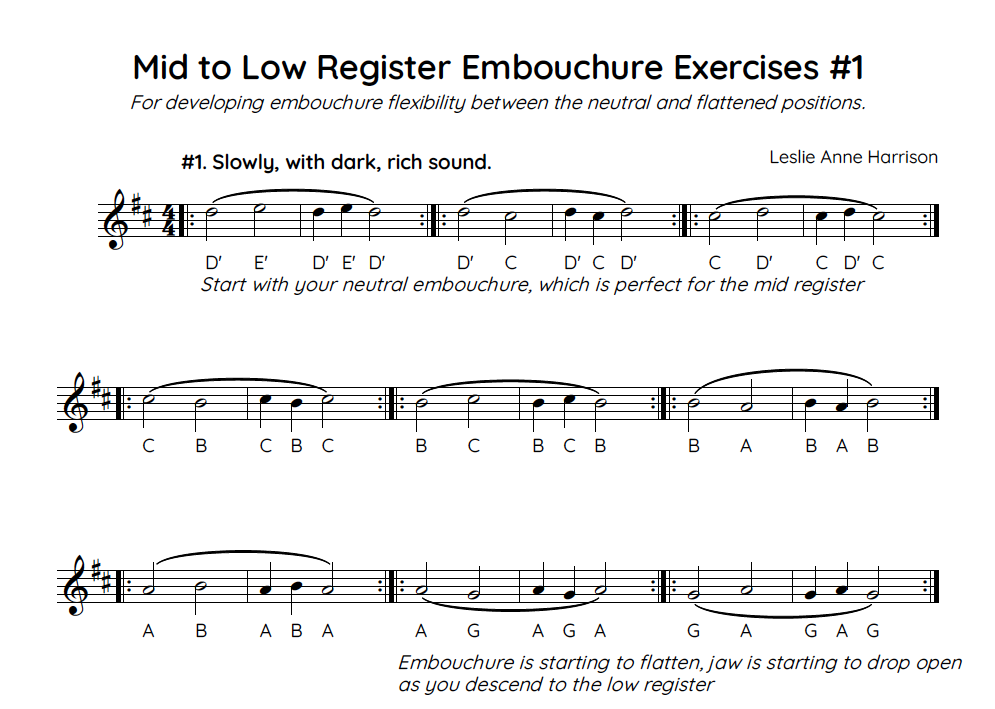
Step 2b
Once you’ve watched Embouchure Foundations, Part 2, use this exercise series to improve strength and flexibility in your mid register (neutral embouchure) and your low register (flattened embouchure). This will be helpful with the tune we’re learning later in this section.
Practice slowly and breath wherever you need to. If you feel your mouth getting tired, be sure to take a break.

Step 3
Technique

Step 3a
Moving between D’ and C# can be a little challenging. This is because all the fingers that were down have to go up (and vice versa). Use this video to learn tips for that transition.

Takeaways:
It takes practice to cover multiple holes simultaneously without leaking air.
Developing good, accurate muscle memory is a big part of covering holes without air leaks.
Practice the exercises demonstrated in this video in order to develop accurate muscle memory.


Bonus! There are some spacing exercises on pages 20 and 21 to help you practice accurate finger placement.
Step 4
The Eagle’s Whistle

Step 4a
Eagle’s Whistle is a lovely march—or a waltz, depending on how you play it. In the video below, I teach you the tune piece by piece.
In Learning Path: Beginner, Part 1, I introduced tune mapping, which is the process of sketching out the shape and phrases of a tune.
A tune map consists of A and B parts (or more, if it has C, D, or E parts…), and numbered phrases for each part. It’s an easy way to keep track of your tune and get a sense of it before you start. It’s also helpful in that it can show you that a tune isn’t as complicated as you think.
So, here is the tune map for Eagle’s Whistle.
A: ||: A1 A2 A1 A3 :||
B: ||: B1 A2 B1 A3 :||
These symbols are repeat signs: ||: :|| They let us know that we should play a everything between them again. This means that the A part is played twice and the B part is played twice.
As you learn Eagle’s Whistle, you may notice that you recently learned a few techniques that will be helpful for this tune: mid to low register embouchure in Step 2 and D’ to C# transitions in Step 3.


Step 4b
Once you feel confident with The Eagle’s Whistle, try playing along to this video. Remember, you can adjust the speed by clicking on the gear icon in the lower right corner (and in the process, make me look like a slow-moving robot stuck underwater!).


Step 5
In Closing

Step 5a
Celebrate and communicate! Hop over to our private Facebook page and let us know how it went! Any questions? Post them there and I’ll be sure to answer.

Step 5b
What’s next?
Look below for my recommended next step, a review list of the companion resources covered in this learning path, and/or a chance to browse and discover something new on your own.


© Leslie Anne Harrison 2019-2022. All rights reserved.