Learning Path: Beginner, Part 4
Table of Contents
Step 1 | Warm Up
Step 1a | Warmup in G major
Step 2 | Embouchure
Step 2a | Embouchure Foundations, Part 3
Step 2b | Mid to High Register Embouchure Exercises #1
Step 3 | Tone and Intonation
Step 3a | How to Improve C Natural Tone and Intonation
Step 3b | How (and Why) to Play a Keyed C Natural
Step 4 | The South Wind
Step 4a | Slow Tune Learning: The South Wind
Step 4b | Play Along: The South Wind
Step 5 | In Closing
Step 5a | Celebrate and Communicate
Step 5b | What’s Next?
Step 1
Warm Up

Step 1a
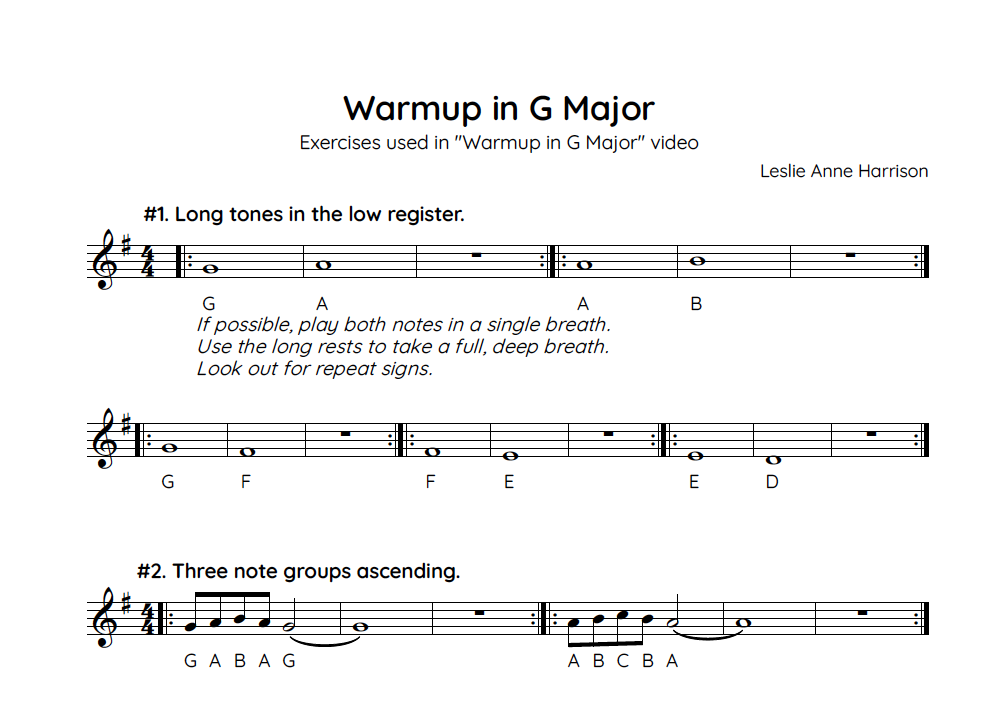
Play along to this G Major warmup. You’ll use the same G Major scale that you learned in Learning Path: Beginner, Part 3.
In the video, I start with some stretches that work for me; please do what works for you. I also walk you through each warmup exercise that I play. The sheet music is below as well if you’d like to see it as you play along.


Step 2
Embouchure

Step 2a
In the previous learning paths, you’ll have watched Embouchure Foundations, Part 1 and Embouchure Foundations, Part 2. This video will explain how to find and use a pursed embouchure shape. This is the third shape on the center-based embouchure spectrum.

Takeaways:
A pursed embouchure is created by squeezing the upper and lower lips together slightly and moving both lips forward.
Saying “loony-toooooon” with an extremely round “oo” can help you find this shape. If you speak French, the “u” sound (“une table”) is also a great place to start.
Pursed embouchure shapes can help your high notes speak more clearly.
Practice mid to high register exercises in order to build flexibility between your neutral and pursed embouchure shapes.

Step 2b
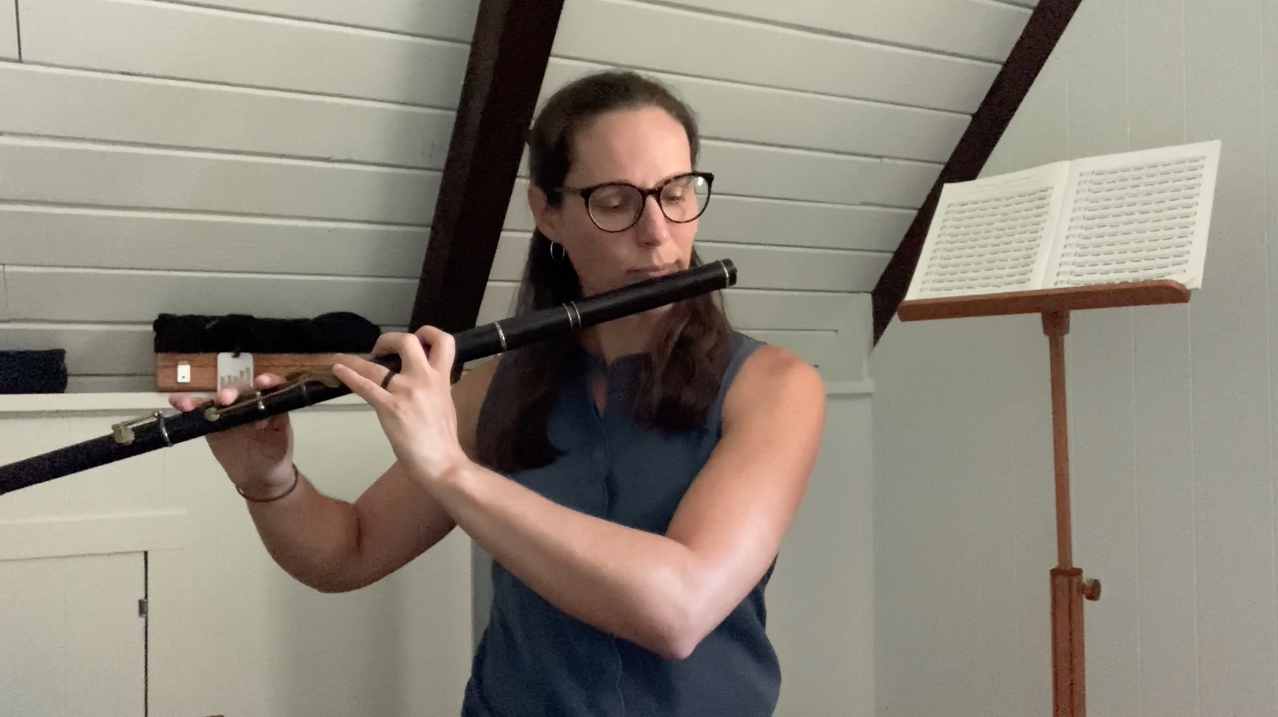
Use these exercises to practice moving between your middle register (neutral embouchure) and high register (pursed embouchure). For me, my middle register encompasses approximately B up to E’. My high register starts around F’.
Remember, with a center-based embouchure, you’ll want to use a neutral shape in your middle register. For your high register, use a pursed shape.
As you move higher in your register, you may notice that your pursed shape becomes more pronounced. This is okay. It is your embouchure’s way of supporting your high register.
When you’re practicing your high register with a pursed embouchure, be sure to also move plenty of air through the flute. The high register likes a faster, narrower airstream. Think of water rushing through a tiny hole in a dam: this is your high register airstream.


Step 3
Tone and Intonation

Step 3a
You may have noticed that the two-fingered C natural on Irish flutes (the C natural most available on unkeyed flutes) can sound pretty pale and sharp when compared to the notes around it. This video will walk you through some tone and intonation considerations for playing a better, stronger two-fingered C natural.
Although the pale color and sharp intonation of the C natural on Boehm flutes is not as pronounced as on the Irish flute, this note can still pop out when compared to the B and D’ surrounding it. Using the tips in this video can help your C natural too.
Takeaways:
A two-fingered C natural is a pale, often sharp note.
Adjusting your embouchure and rolling your flute in towards your body can help darken the note and lower its intonation.

Step 3b
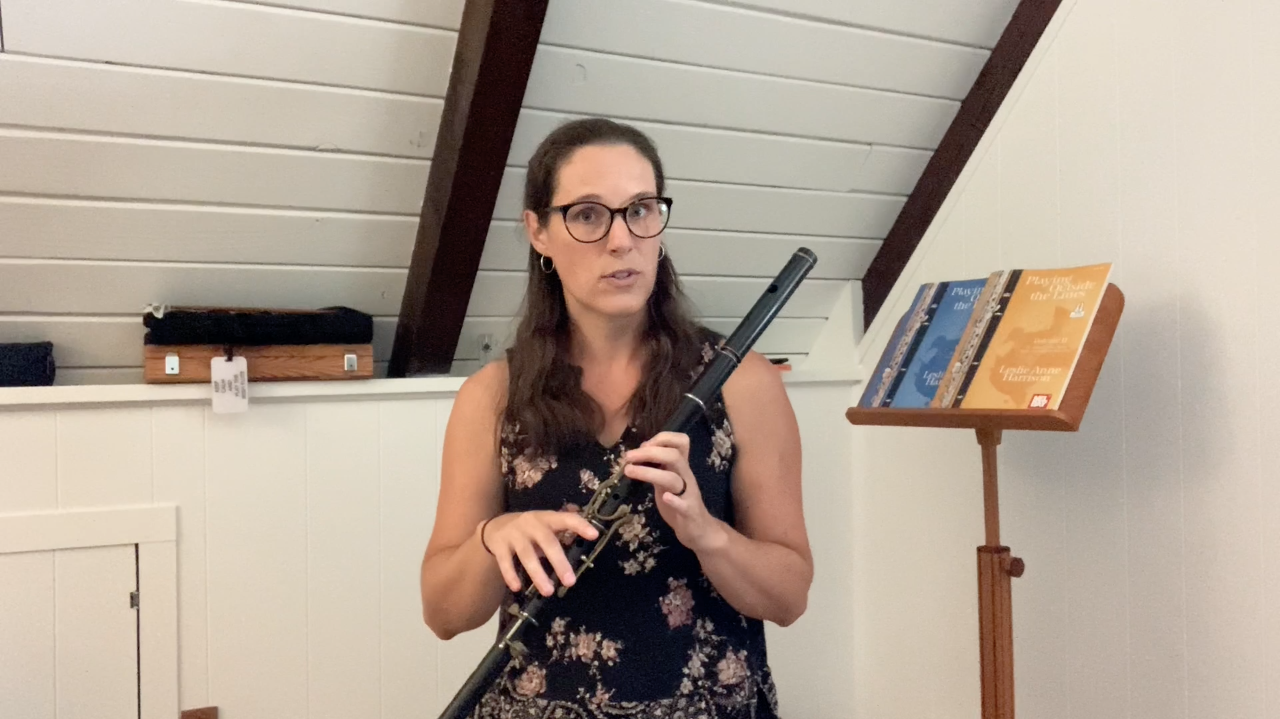
Keyed Irish flutes usually have a C natural key, providing an additional C natural option beyond the two-fingered version. If you are a Boehm flute player or you do not have a C natural key on your Irish flute, you can skip ahead to Step 4.
In the video below, I show you how to play a keyed C natural and discuss why you might use this option instead of a two-fingered C.

Takeaways:
There are pros and cons to using a keyed C natural.
Pros: The tone quality and intonation of a keyed C natural is often much better.
Cons: Moving from a keyed C natural to a D’ is uniquely awkward. It is difficult to do at speed and requires a fair amount of practice to get right.
Keyed flute players often use both two-fingered and keyed C naturals. The decision of which one works better depends on the particular circumstances of a tune or passage.
Step 4
The South Wind

Step 4a
In the video below, I’ll teach you The South Wind, a waltz in G Major. As with other slow tune learning videos, I'll break the tune down phrase by phrase.
The South Wind’s tune map looks like this:
A: A1 A2 A1 A2
B: B1 A1 B1 B2
This tune map tell us that there are just four phrases in this tune: A1, A2, B1, B2.
As you’re learning the tune, you’ll notice that the B part moves up into the high register. Review the pursed embouchure we went over in Step 2 and use it here.
You’ll also notice there are a lot of C naturals. Pay attention to their color and intonation and remember the work you did in Step 3.
Do your best to learn the tune by ear. There is sheet music below if you’d like to double check anything.
If you haven’t experimented with this yet, there are also several icons in the lower right corner of the video that you may find helpful. The gear icon allows you to slow or speed up a video. The chapter icon lets you skip around to different parts of the video.


Step 4b
Now you can play along to this video! Remember, you can always adjust the speed by clicking on the gear icon in the lower right corner.


Step 5
In Closing

Step 5a
Time to celebrate and communicate! Throw yourself a party and head over to our private Facebook page to let us know how it went! Post your questions and ideas and we can discuss them there.

Step 5b
What’s next?
Look below for my recommended next step, a review list of the companion resources covered in this learning path, and/or a chance to browse and discover something new on your own.


© Leslie Anne Harrison 2022. All rights reserved.