Learning Path: Embouchure Foundations
Table of Contents
Step 1 | Embouchure Basics
Step 1a | Corner- vs. Center-Based Embouchures
Step 1b | Three Shapes on the Center-Based Embouchure Spectrum
Step 2 | The Neutral Embouchure
Step 2a | Embouchure Foundations, Part 1
Step 2b | Mid Register Embouchure Exercises #1
Step 2c | Mid Register Embouchure Exercises #2
Step 3 | The Flattened Embouchure
Step 3a | Embouchure Foundations, Part 2
Step 3b | Mid to Low Register Embouchure Exercises #1
Step 3c | Mid to Low Register Embouchure Exercises #2
Step 3d | Mid to Low Register Embouchure Exercises #3
Step 3e | Mid to Low Register Tunes
Step 4 | The Pursed Embouchure
Step 4a | Embouchure Foundations, Part 3
Step 4b | Mid to High Register Embouchure Exercises #1
Step 4c | Mid to High Register Embouchure Exercises #2
Step 4d | Mid to High Register Embouchure Exercises #3
Step 4e | Mid to High Register Tunes
Step 5 | In Closing
Step 5a | Celebrate and Communicate
Step 5b | What’s Next
Step 1
Embouchure Basics

Step 1a
An embouchure is the shape you make with your mouth when playing the flute. Developing a good embouchure is a very important part of flute playing and has great influence on tone quality and control, breathing and note extension, colors and dynamics, and a whole lot more.
One of the most important questions flute players therefore face is how best to shape their embouchures. In my opinion, this crucial issue takes into account a variety of factors including a) sound preference (does the player prefer a darker or light sound), b) playing preference (what feels most comfortable and accessible), and c) physical considerations (mouth and lip shape and what that means for attaining the first two points).
There are two schools of thought when it comes to embouchure formation. I call them corner-based embouchures and center-based embouchures. I’ve played with both. I played with a corner-based embouchure for more than a decade before switching to a center-based embouchure.
Corner-based embouchures are created by pulling the corners of the mouth into a smile or a frown. The benefit of this embouchure is that the corners of the mouth are already very strong, so it’s an accessible shape for players to use. For some people, however, using a corner-based embouchure can also mean that they do not have the range of motion they might want in order to play with better control, use different dynamics, and create varied tone colors.
The range of motion that I consider to be important includes: moving the lower jaw backwards, forwards, open and closed, and pursing and flattening the lips. For some people, myself included, this range of motion is more accessible when using a center-based embouchure.
Center-based embouchures are created by relaxing the corners and instead using the center of the lips. The benefit of this embouchure is that it can be very flexible, and the mouth and jaw is able to move into a variety of shapes that can exert greater control over playing in different registers (high, middle, and low notes), using different dynamics (loud, medium, and soft), and creating different tone colors (dark green to pale yellow timbres).

Step 1b
I consider there to be three primary shapes on the center-based “embouchure spectrum.” Each shape is best suited to a different register, dynamic, and tone color. I categorize these shapes like so:
Shape 1: The Neutral Embouchure
For Mid Register, Neutral Tone Colors, and/or Mezzo Forte Dynamics
Shape 2: The Flattened Embouchure
For Low Register, Dark Tone Colors, and/or Forte Dynamics
Shape 3: The Pursed Embouchure
For High Register, Pale Tone Colors, and/or Piano Dynamics
Ideally, there is a great deal of flexibility between each shape, and a lot of give and take. For instance, a mid register note that you want to play with forte dynamics, may require some cross between a neutral and flattened embouchure. A low register now that you want to play with a pale tone color may require a marriage of the flattened and pursed embouchures.
This will look and feel different for each person, but having that flexibility and ability to manipulate the sound is a great boon to anyone’s flute playing.
The easiest way to start working on these three embouchure shapes is to associate them with their preferred registers. In order of accessibility, these are the mid, low, and then high registers.
The boundary between registers is very fluid. When it comes to Irish flute playing, I roughly (and personally, since everyone is different) define the mid register as B to E’, the low register as A and below, and the high register as F’ and above.
The next steps will walk you through information and exercises for how to make and use each embouchure shape in the mid, low, and high registers—and how to practice all the shades of movement in between.

Step 2
The Neutral Embouchure

Step 2a
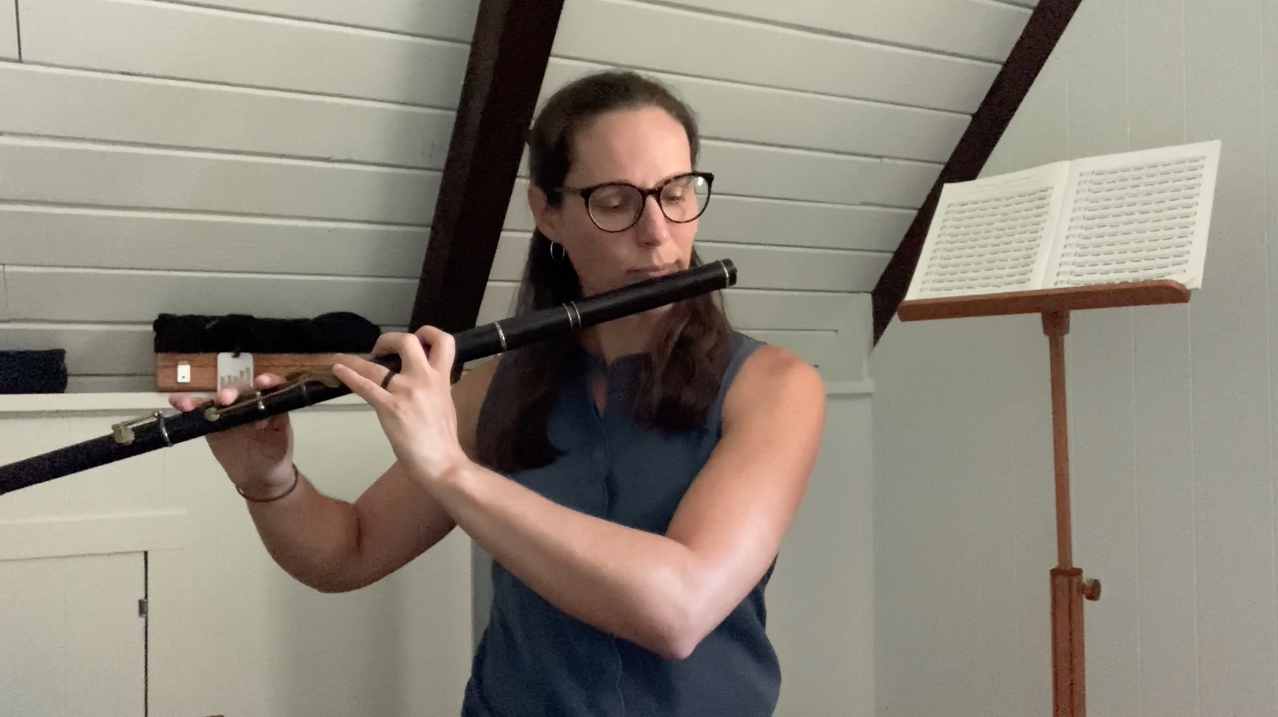
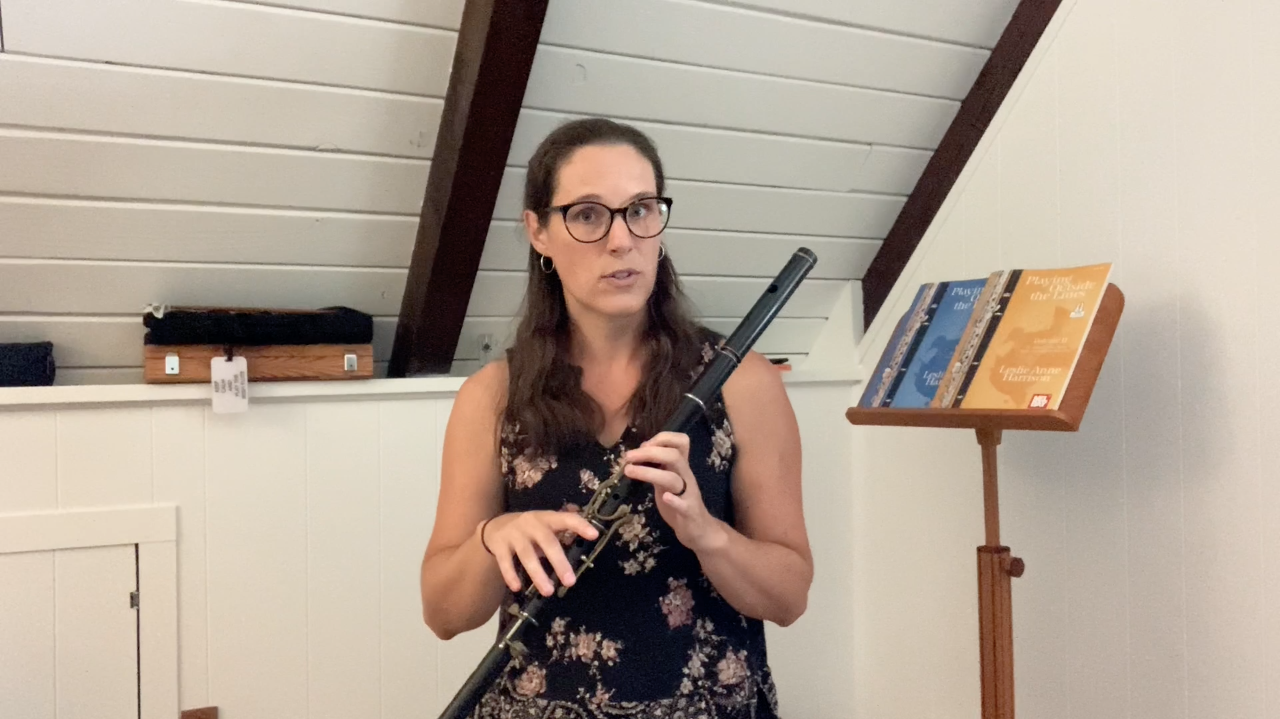
The video below walks you through some of the concepts of corner- vs. center-based embouchures and shows you how to find a good center-based neutral embouchure. This is the first and most important of the three primary shapes available to center-based embouchures.

Takeaways:
Everyone’s body and goals are different. This can lead to a variety of embouchure shapes.
Corner-based embouchures are created by smiling or frowning. These embouchures are directed by the already-strong corners of the mouth, but can be more static.
Center-based embouchures are created by using the center of the lips to bear down on the airstream. These embouchures are directed by muscles in the center of the mouth which are often less developed, but can be more flexible in the long run.
A neutral embouchure is the first of the three primary center-based embouchure shapes.
To find a neutral embouchure, say “tunnnnnnnne", then play a D’.
Before moving onwards, make sure your neutral embouchure shape has the potential for a) flexibility, and b) strength. Use the tests suggested in the video to check for these.

Step 2b
There are some important considerations for articulation in Irish traditional flute playing. Articulation refers to how a note is begun. Read the article below to gain an understanding of how articulation is used in Irish flute playing, and how it might be different than what you’ve used before.

Takeaways:
The default articulation in western class music is to tongue the beginning of every note unless marked otherwise.
In contrast, Irish traditional music tends to be played slurred together.
Most of the music on this site (and beyond this site) will not have slurs marked in. It is understood that you should slur everything together be default.
If you need to tongue repeated notes, do not use “too.” Try a softer “doo” instead.

Step 3
The Flattened Embouchure

Step 3a
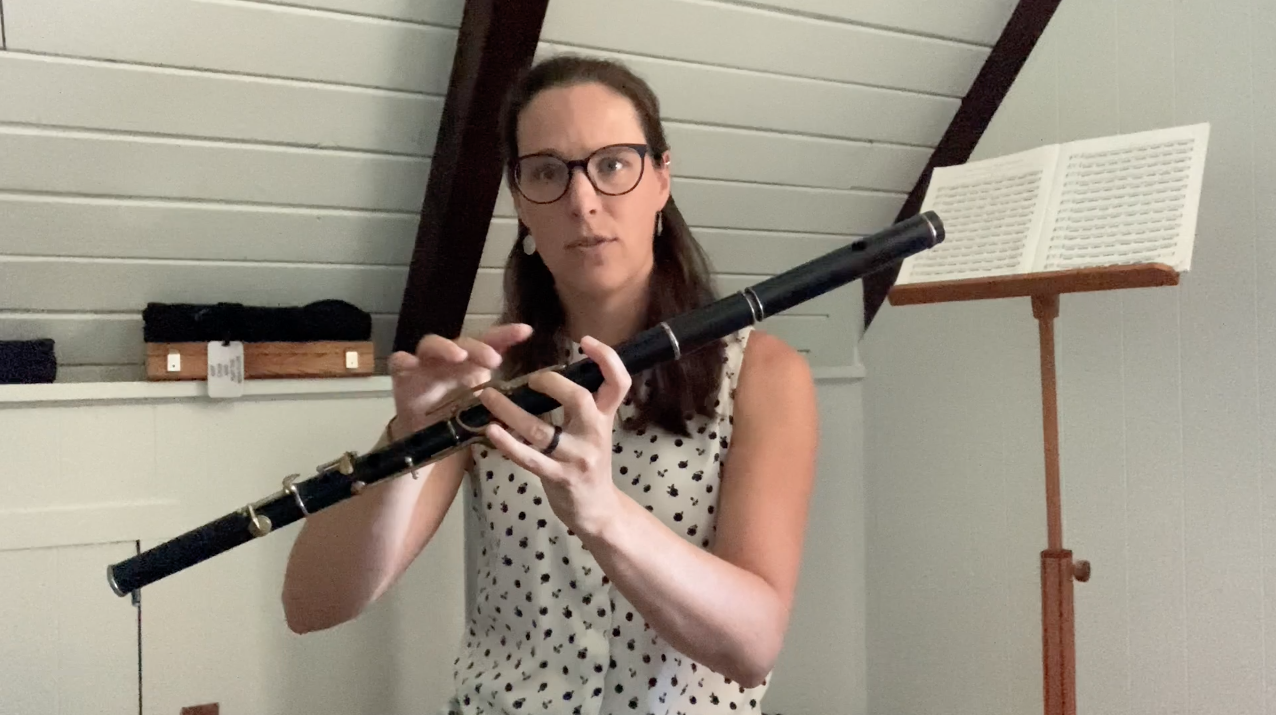
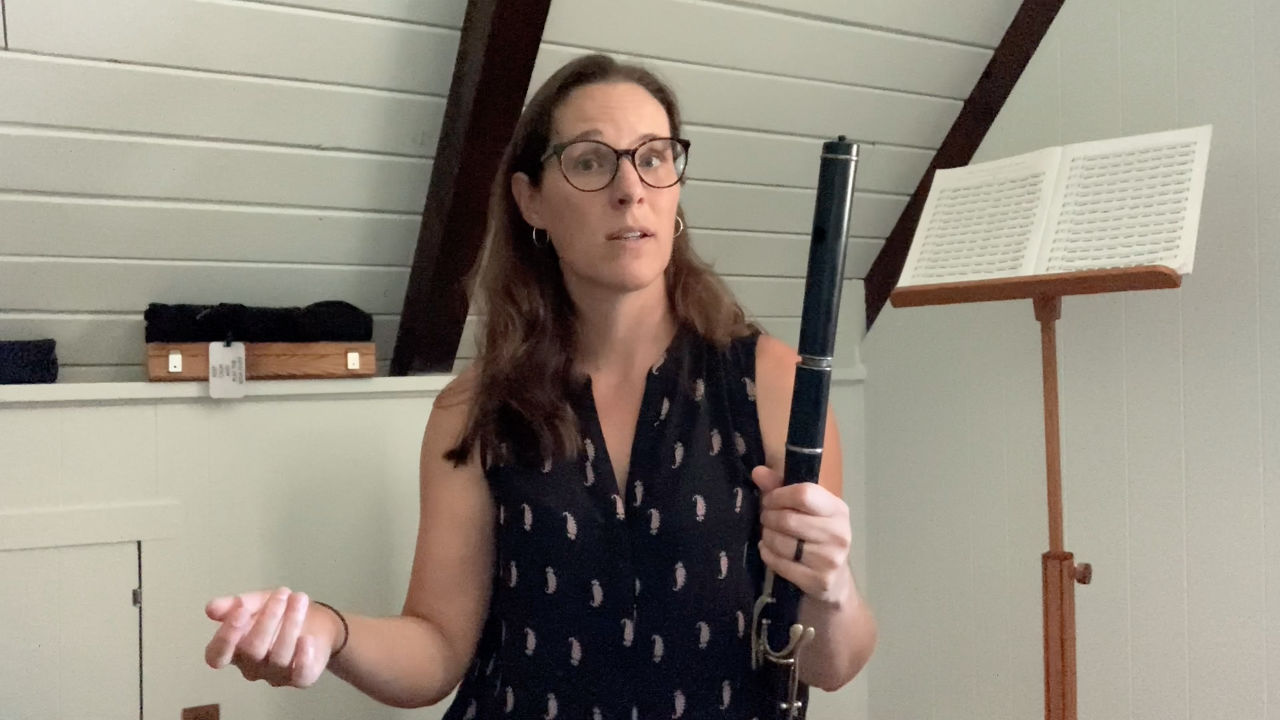
This video walks you through how to create a flattened embouchure. This is the second shape on the center-based embouchure spectrum.

Takeaways:
A flattened embouchure shape is created by taking your neutral embouchure and pushing the upper lip downwards onto the airstream while dropping the lower jaw and pulling it back towards the body (think of an awkward yawning face).
While saying “tunnnnne” can help you find your neutral embouchure, saying “tonnnnne” can help you find your flattened embouchure.
Flattened embouchures are very helpful when playing in the low register; this is also the most accessible way to practice this new embouchure shape.
Be sure to build flexibility between your neutral and flattened embouchures by practicing mid to low register exercises.

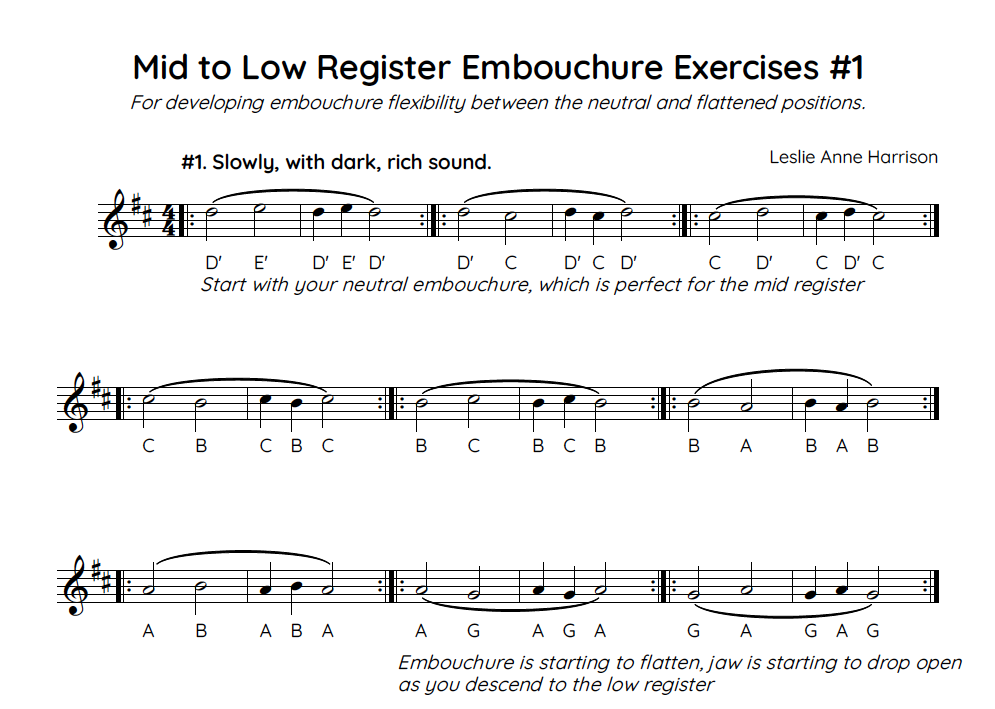
Step 3b
Use these mid to low register exercises to improve strength and flexibility between your neutral embouchure and your flattened embouchure. In the music, you’ll see notes from me suggested which embouchure shape to start and end with, and where in an exercise you might want to start transitioning. These are simply suggestions based on my own playing; you may find that something different works for you.
If you are new to embouchure work, take lots of little breaks so that the muscles in your lips can rest and rejuvenate. If you feel the corners of your mouth tingling, this means you have switched from using a center-based embouchure to using a corner-based embouchure instead. Remember, in center-based embouchures, the corners of your mouth should be as relaxed as possible.
Slow embouchure work is also an opportunity to practice and improve tone. As with any tone work, it can be very helpful to practice with a tuner so that you do not develop beautiful tone that is also out of tune.
Be patient, practice slowly, and treat these exercises as a chance to slow down, be mindful, and enjoy your playing.

Step 3c
This next series of exercises is a continuation of the mid to low register work you accomplished in Step 3b. These exercises move a little more quickly, and as such, may require more motion between embouchure shapes.
Play slowly and pay attention to the shapes you may need to make in order to achieve the best tone. As with any tone work, I recommend practicing with a tuner.


Step 3d
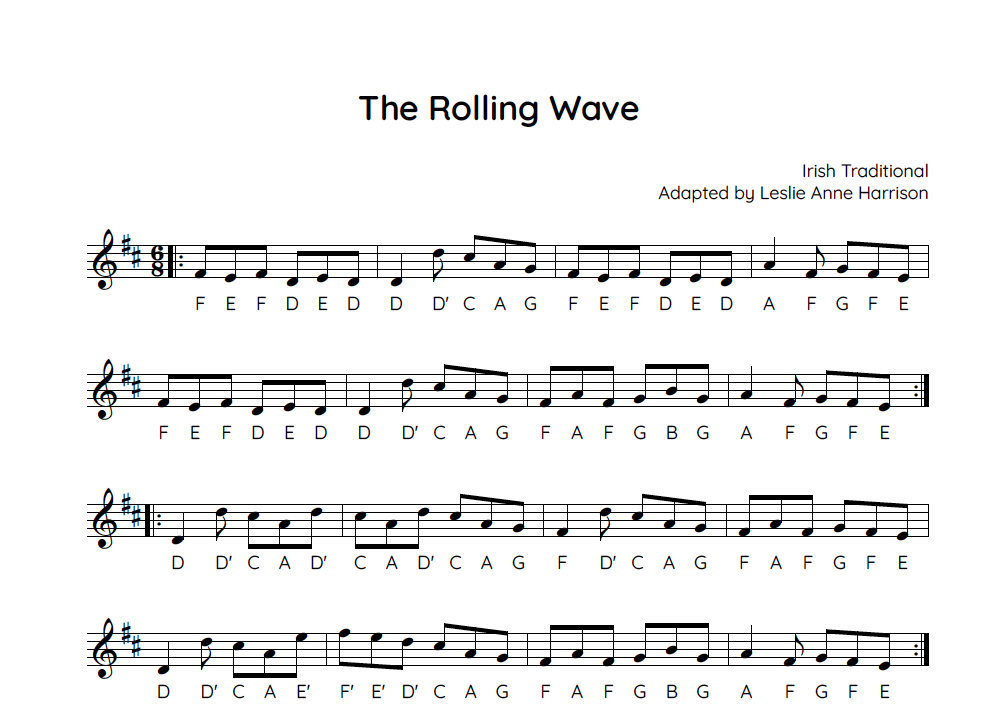
This last set of exercises is based off of four tunes that have beautiful mid to low register passages. The exercises require good motion and flexibility between the neutral and flattened embouchures. Review your neutral and flattened shapes before starting.


Step 3e
It’s time to take all the great work you’ve been doing and start applying it to tunes. Look below for some tunes that feature (mostly) the mid to low register. I’ve included a selection of sheet music, slow tune learning, play alongs, and recordings from my tune archive.
You may notice that these tunes featured in the exercises you practiced in Step 3d.
Practice each tune and pay attention to your embouchure shapes. These tunes will require neutral embouchures in the mid register and flattened embouchures in the low register—and a flexibility transitioning between the two.


Step 4
The Pursed Embouchure

Step 4a
This video will explain how to find and use a pursed embouchure shape. This is the third shape on the center-based embouchure spectrum.

Takeaways:
A pursed embouchure is created by squeezing the upper and lower lips together slightly and moving both lips forward.
Saying “loony-toooooon” with an extremely round “oo” can help you find this shape. If you speak French, the “u” sound (“une table”) is also a great place to start.
Pursed embouchure shapes can help your high notes speak more clearly.
Practice mid to high register exercises in order to build flexibility between your neutral and pursed embouchure shapes.

Step 4b
Use these exercises to practice your neutral to pursed embouchures. A neutral embouchure is used in the mid register; a pursed embouchure is used in the high register.


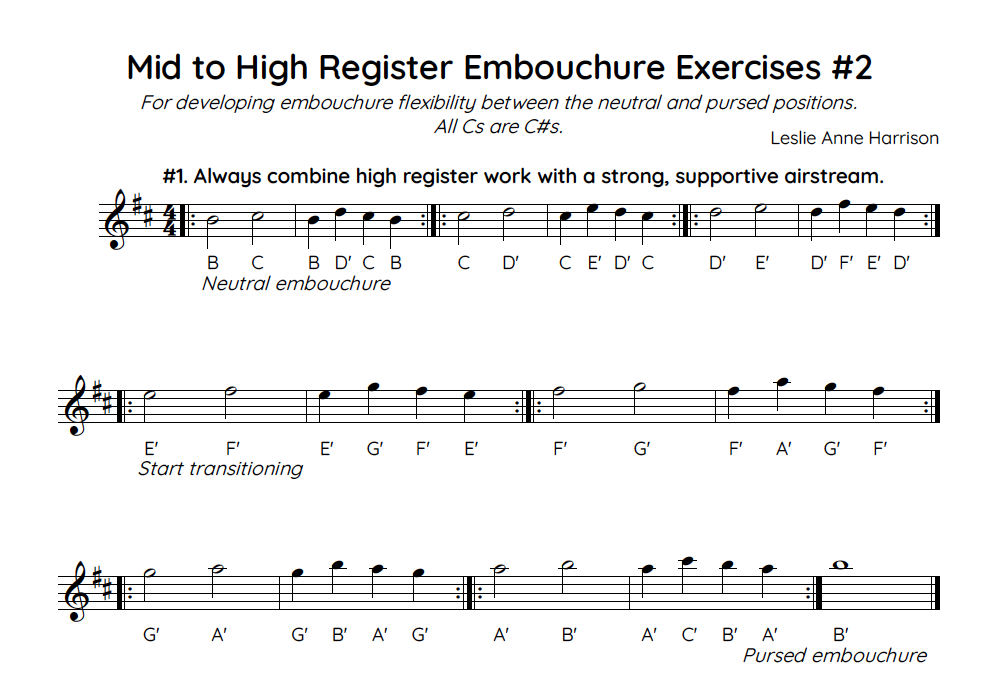
Step 4c
These neutral to pursed embouchure exercises are slightly more advanced. Be sure to use a strong airstream to further support your high register.

Step 4d
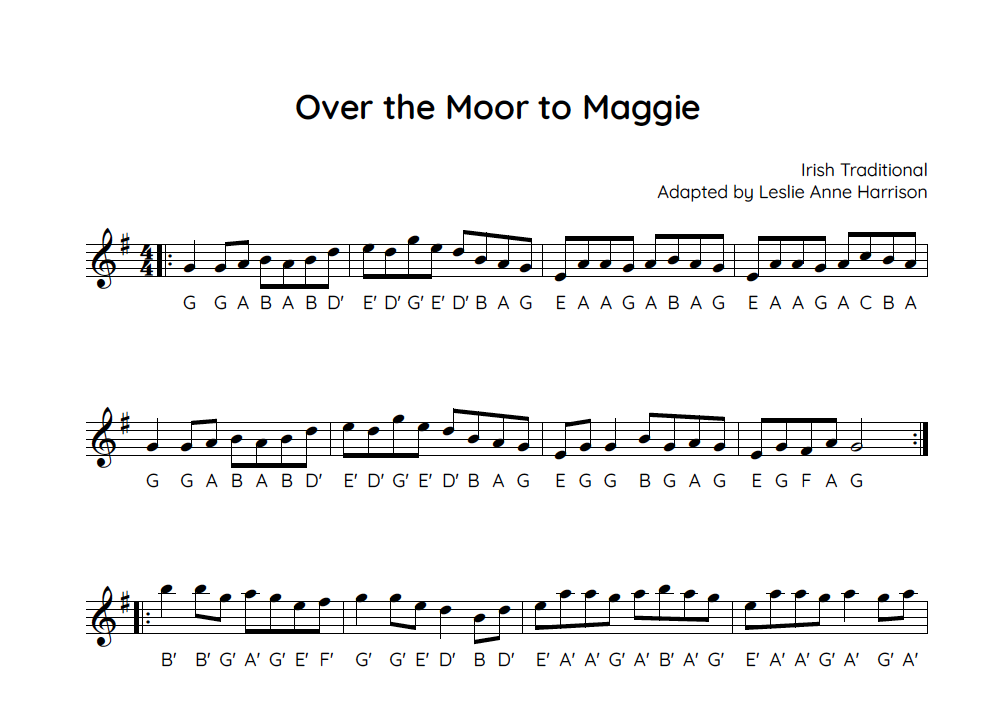
These last exercises are based on a series of tunes.


Step 4e
Look through the carousel below to find mid to high register tunes. These are helpful when practicing your neutral to pursed embouchure shapes.


Step 5
In Closing

Step 5a
Time to celebrate and communicate! You just finished Learning Path: Embouchure Foundations!
You can also hop over to our private Facebook group and let us know! You’ve definitely earned some bragging rights. You can also post questions or comments there and see what others (or me) have to say.

Step 5b
What’s next?
Look below for my recommended next step, a review list of the companion resources covered in this learning path, and/or a chance to browse and discover something new on your own.


© Leslie Anne Harrison 2019-2022. All rights reserved.